
If you’re like most people, you probably don’t know a lot about plastering. However, if you’re planning on doing any sort of home improvement or construction project that involves walls, chances are you’ll need to at least do some basic plastering.
Don’t worry – it’s not as difficult as it looks. With a little practice and the right tips, you’ll be able to tackle any plastering challenge with ease.
Here are 12 tips to help you get started:
1. Choose The Right Type Of Plaster For Your Project
There are many different types of plaster available on the market, so it’s important to choose the one that will best suit your needs. If you’re not sure what type of plaster to use, ask a professional at your local hardware store for advice.
2. Choose The Right Tools For The Job
As mentioned before, having the right tools is essential for any plastering job. Make sure that you have a good quality trowel, hawk, and float. These tools will help you apply the plaster evenly and smoothly.
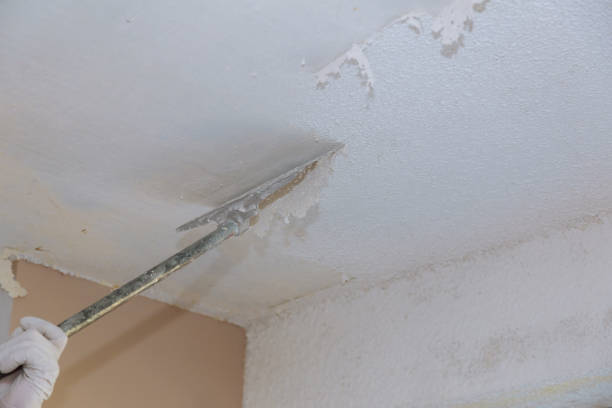
3. Prepare The Surface
Before you start plastering, it is important to prepare the surface. Make sure the surface you’re going to be plastering is clean, dry and free of any debris or imperfections. If necessary, sand down the surface to create a smooth base for the plaster.
4. Mix The Plaster Correctly
Another important step in plastering is mixing the plaster correctly. Be sure to follow the instructions on the packaging carefully. If you mix the plaster too thick, it will be difficult to apply evenly. On the other hand, if you mix it too thin, it will not adhere properly to the surface.
5. Apply The Plaster Evenly
Once you have mixed the plaster correctly, it is time to apply it to the surface. Start by applying a thin layer of plaster with your trowel. Then, use your hawk to hold the plaster in place while you smooth it out with your float.
6. Let The Plaster Dry
After you have applied the plaster, it is important to let it dry completely before moving on to the next step. This can take anywhere from a few hours to a few days, depending on the type of plaster that you are using.
7. Sand The Surface
Once the plaster has dried, you will need to sand the surface to create a smooth finish. Be sure to use fine-grit sandpaper so that you do not damage the surface.
8. Apply A Second Coat
If you want a thicker layer of plaster, you can apply a second coat. Be sure to let the first coat dry completely before applying the second coat.
9. Let The Plaster Cure
After you have applied the final coat of plaster, it is important to let it cure. This can take up to several weeks, depending on the type of plaster that you are using.
10. Paint Or Wallpaper The Surface
Once the plaster has cured, you can paint or wallpaper the surface. Be sure to follow the manufacturer’s instructions for painting or wallpapering over plaster.
11. Seal The Plaster If Necessary
In some cases, it may be necessary to seal the plaster to protect it from moisture or other damage. If you’re not sure whether or not you need to seal the plaster, ask a professional for advice.
12. Enjoy Your Finished Project!
Once you’ve completed all of the steps above, you’ll have a beautiful, smooth surface that’s ready for whatever you want to use it for. Whether you’re using it as a base for painting or simply want to admire your handiwork, you’ll be proud of the results.
By following these 12 tips, you can handle any plastering challenge with ease. So, get out there and start plastering!
If you are looking for some professionals to do your plastering at home, try to check on boral hard finish plaster.